Sunday, May 10, 2020
Easy Caramel Sauce
Homemade Caramel Sauce is soooo easy to make! You only need a few simple ingredients that you probably already have on hand, and cook time is less than 10 minutes. Why buy store bought caramel that has high fructose syrup or other preservatives in it when you can whip up a tasty batch for a fraction of the cost and you know exactly what's in it?
Ingredients:
2 sticks unsalted butter
1 cup light brown sugar
1 cup cane sugar
2/3 cup heavy whipping cream
Optional: 1/4 tsp vanilla and/or sea salt to taste
In a heavy bottom sauce pan, melt 2 sticks of butter. Once melted add the sugar and heavy cream over medium heat, stirring constantly until it comes to a boil. Continue to stir constantly and boil for 3 minutes...No Longer. Remove from heat, add vanilla and/or sea salt then pour into jars. Allow to cool completely before screwing on the lid, then store in the fridge. And you're all done!
Serve over ice cream, use on brownies, drizzle on cheesecake, in coffee or eat right off the spoon! The possibilities are endless. Keep in the fridge for up to two weeks. It thickens when it is cooled, so to soften set the jar in a bowl of hot water or warm it up in the microwave for a few seconds. ENJOY!
Labels:
Caramel sauce,
Make your own
Saturday, February 24, 2018
Kelly's Homemade Apple Butter Y'all
Surely an Apple is the Noblest of Fruits....Right?
Every fall, my family and I always took a trip to the Apple Orchard. There were so many things to do, like picking your own variety of apples of course, but also jams, jellies, butters and other activities to enjoy with the family. We always made a day of it, ending with a trip to Joe's Crab Shack for dinner...traditions were our thing and the Apple Orchard Day was a Big One for us. Of course, this gal had lots of work to do once we collected all of those sweet, tart, juicy hand-held globes of goodness. We usually picked at least 2 bushels so I could can apple butter and apple sauce to have on hand until the next fall festival. Good times...Good times...
Apple Butter...it's so easy to make and the smell that permeates your home will have your family looking forward to this tradition every year.
Lots of recipes you'll find on the internet includes a slow cooker, but I was raised the old fashioned way...you do it on the stove top. Just plan on being home all day...and most of the night, the longer, the better.
Of course Apple Butter is delicious on buttered toast, but there are so many other uses for it throughout the year. Use it in cookies, muffins, pancakes, scones, cupcakes, pork recipes, homemade BBQ sauce, pies and cakes...the uses are endless.
Every fall, my family and I always took a trip to the Apple Orchard. There were so many things to do, like picking your own variety of apples of course, but also jams, jellies, butters and other activities to enjoy with the family. We always made a day of it, ending with a trip to Joe's Crab Shack for dinner...traditions were our thing and the Apple Orchard Day was a Big One for us. Of course, this gal had lots of work to do once we collected all of those sweet, tart, juicy hand-held globes of goodness. We usually picked at least 2 bushels so I could can apple butter and apple sauce to have on hand until the next fall festival. Good times...Good times...
Apple Butter...it's so easy to make and the smell that permeates your home will have your family looking forward to this tradition every year.
Lots of recipes you'll find on the internet includes a slow cooker, but I was raised the old fashioned way...you do it on the stove top. Just plan on being home all day...and most of the night, the longer, the better.
Of course Apple Butter is delicious on buttered toast, but there are so many other uses for it throughout the year. Use it in cookies, muffins, pancakes, scones, cupcakes, pork recipes, homemade BBQ sauce, pies and cakes...the uses are endless.
Yep...That's me :)
I went to a local family farm and bought 6lbs of Rome Apples and 3lbs of Gala Apples.
This will give you enough butter to can 6 pint jars.
An apple corer and slicer makes the job a lot easier...trust me.
I peel the skins (you can cook those down and make apple jelly...but that is another post.
Once peeled, add the sliced apples to a large stock pot with 3 cups of packed brown sugar, one cup of white sugar, 1 cup Apple Cider, 1Tbsp Cinnamon, 1tsp ground cloves, 1tsp ground nutmeg, 2Tbs lemon juice, 1tsp salt, 1tsp pumpkin spice(my secret ingredient) and that's it! Now bring it to a soft boil and reduce heat to a very low simmer and cook for up to 24hrs or more. Patience is a must!
One of the handiest tools I have is an Emulsion Blender made by Hamilton Beach! This thing is a BEAST! Now blend those apples until the consistency that suits you. I like mine nice and smooth.
I'm not gonna go over the canning process...if you don't know it, then STUDY IT!
After almost 30 hours of slow and low cooking, this is what my butter looks like...while warm, fill your jars to 1/4" of the rim with the butter and process for 10 minutes.
And like magic, you have Apple Butter...the best tasting apple butter EVER because you made it. Now, this recipe can be adjusted to your taste. I have made apple butter with NO SUGAR using sweet apples. This is your choice.
Enjoy and don't forget to share with Family and Friends Y'all
Wednesday, July 22, 2015
Kelly's Yummy Zucchini Bread
Zucchini may be at the back of the alphabet, but it's at the front of our minds when it comes to summer vegetables.
This miracle squash is so easy to grow, you can easily end up with a bumper crop. But don't let it go to waste...it has lots of vitamin A, few calories, and it's simple to cook.
When the abundant zucchini harvest has you stumped, try this hearty Zucchini Bread.
It is incredibly moist and it stays that way (I can’t verify how long exactly because a loaf only lasts at most three days in my house). But I can tell you that it’s just as soft and fluffy on day three as it was the day I baked it.
This recipe is super easy and makes 3 loaves to share or keep for yourself!
Bread can be frozen for up to 3 months
- 3 Beaten Eggs
- 2 Cups Sugar
- 2 Cups Vegetable Oil
- 1 Tbls Coconut Oil
- 2 Tsps Vanilla
- 2 Cups packed Grated Zucchini
- 1 Carrot Grated
- 3 Cups Cake Flour
- 1 Tsp Baking Soda
- 1 Tsp Salt
- 1/2 Tsp Baking Powder
- 2 Tsp Cinnamon
- 1 Tsp Cardamom
- 1 Tsp dried Valencia Orange Peel
- 1/2 Tsp Allspice
- 3/4 Cup Pecan Pieces
Add grated Zucchini and all other ingredients into a bowl. Use a mixer until well blended. Pour into greased and floured bread pan. Bake about 1 hour at 350 degree's. Use a toothpick to determine if bread is fully cooked. Remove from oven. Once cooled, flip bread onto cooling rack to finish cooling.
Top with whipped butter or whipped cream cheese.
It doesn't get any easier than that!
Enjoy
Friday, February 13, 2015
Kelly's Valentine Love Potion
We love celebrating every holiday with family and friends, and Valentines Day is no exception. This year my husband and I will be celebrating on Valentines day our own way, but on Sunday, the day after Valentines, we will be celebrating with 9 of our family members. And if you know me, I have to create a hostess cocktail. This year I have put my own spin on the traditional Long Island Iced Tea. These are just as potent as the original, so please drink responsibly.
Ingredients:
1 shot white Barcardi Rum
1 shot Smirnoff Sorbet Light Raspberry Pomegranate Vodka
1 shot white Tequila
1 shot Seagrams Extra Dry Gin
1 shot Dekuyper Triple Sec
1 shot Sweet & Sour
Combine ingredients in a shaker and give it a good shake with a piece of ice. (Anything with Sweet and Sour should be shaken...in my opinion.)
Strain into a tall cocktail glass with ice and lemon slices. ( I made heart shaped ice cubes with Strawberry Lemonade Crystal Light) Top with Pink Lemonade and a splash of LemonLime soda.
Garnish with a Strawberry. Now that's Sexy!
Happy Valentine's Day Y'all
Sorry about the phone pic, but I was too lazy to pull out the big guns. :P
Friday, December 19, 2014
Mexican Wedding Cookies
My husband and son's most favorite cookie during the Christmas holidays. These delicious nutty cookies are rolled in powdered sugar and are perfect for any special occasion. Just five ingredients and 20 minutes later your oven is making this sweet, melt-in-your mouth celebration cookies. Eat now or forever hold your peace.
What You Need
1 cup butter, softened
1 cup powdered sugar, divided
1 tsp. vanilla
2 cups flour
1 cup finely chopped PLANTERS Pecans
Make It
HEAT oven to 350°F.
BEAT butter, 1/2 cup sugar and vanilla in large bowl with mixer until light and fluffy. Gradually add flour, beating on low speed after each addition until blended. Add nuts; mix well.
SHAPE dough into 48 (1-inch) balls. Place, 1-1/2 inches apart, on baking sheets.
BAKE 14 to 15 min. or until bottoms are lightly browned. Cool 3 min. on baking sheets. Roll warm cookies, 1 at a time, in remaining sugar in small bowl until evenly coated; place on wire racks. I roll each cookie a second time just to make sure they are coated nice and good. Cool completely. Store in an air tight jar and enjoy!
BEAT butter, 1/2 cup sugar and vanilla in large bowl with mixer until light and fluffy. Gradually add flour, beating on low speed after each addition until blended. Add nuts; mix well.
SHAPE dough into 48 (1-inch) balls. Place, 1-1/2 inches apart, on baking sheets.
BAKE 14 to 15 min. or until bottoms are lightly browned. Cool 3 min. on baking sheets. Roll warm cookies, 1 at a time, in remaining sugar in small bowl until evenly coated; place on wire racks. I roll each cookie a second time just to make sure they are coated nice and good. Cool completely. Store in an air tight jar and enjoy!
Cinnabon Peanut Almond Brittle
Christmas time at The Young's is one of our most favorite holidays. Lots of decorating, cooking, wrapping and planning time with family and friends. Every year we have a cookie baking night with the kids and us girls with wine and the men...well, doing what men do best...usually watching football and eating all the goodies.
One of the easiest treats to make is Peanut Brittle. It only requires a few simple ingredients and about 20 minutes of your time. We have made many variations to the plain brittle like, Spicy Cayenne, Champagne Cashew and even Bacon. But this year we made Cinnabon Peanut Almond Brittle and here is the super easy recipe.
Ingredients
- 2 cups of sugar
- 1 1/2 cups Karo syrup
- 1/2 cup water
- 1 teaspoon Cinnabon Cinnamon
- 1 cup of raw, unsalted peanuts and 1 cup sliced almonds
- 1 tablespoon butter
- 2 teaspoons vanilla
- 2 rounded teaspoons baking soda
Instructions
- Boil sugar, syrup, water and cinnamon until it reaches 300 degrees then reduce heat
- Add raw, unsalted peanuts and almonds then stir until mixed
- Continue to stir until the mixture is a golden brown
- Add butter, vanilla and baking soda and stir quickly
- As soon as it is mixed pour mixture into a greased pan and let cool
- Break into pieces
Wednesday, July 11, 2012
Canning Jalapeño Peppers
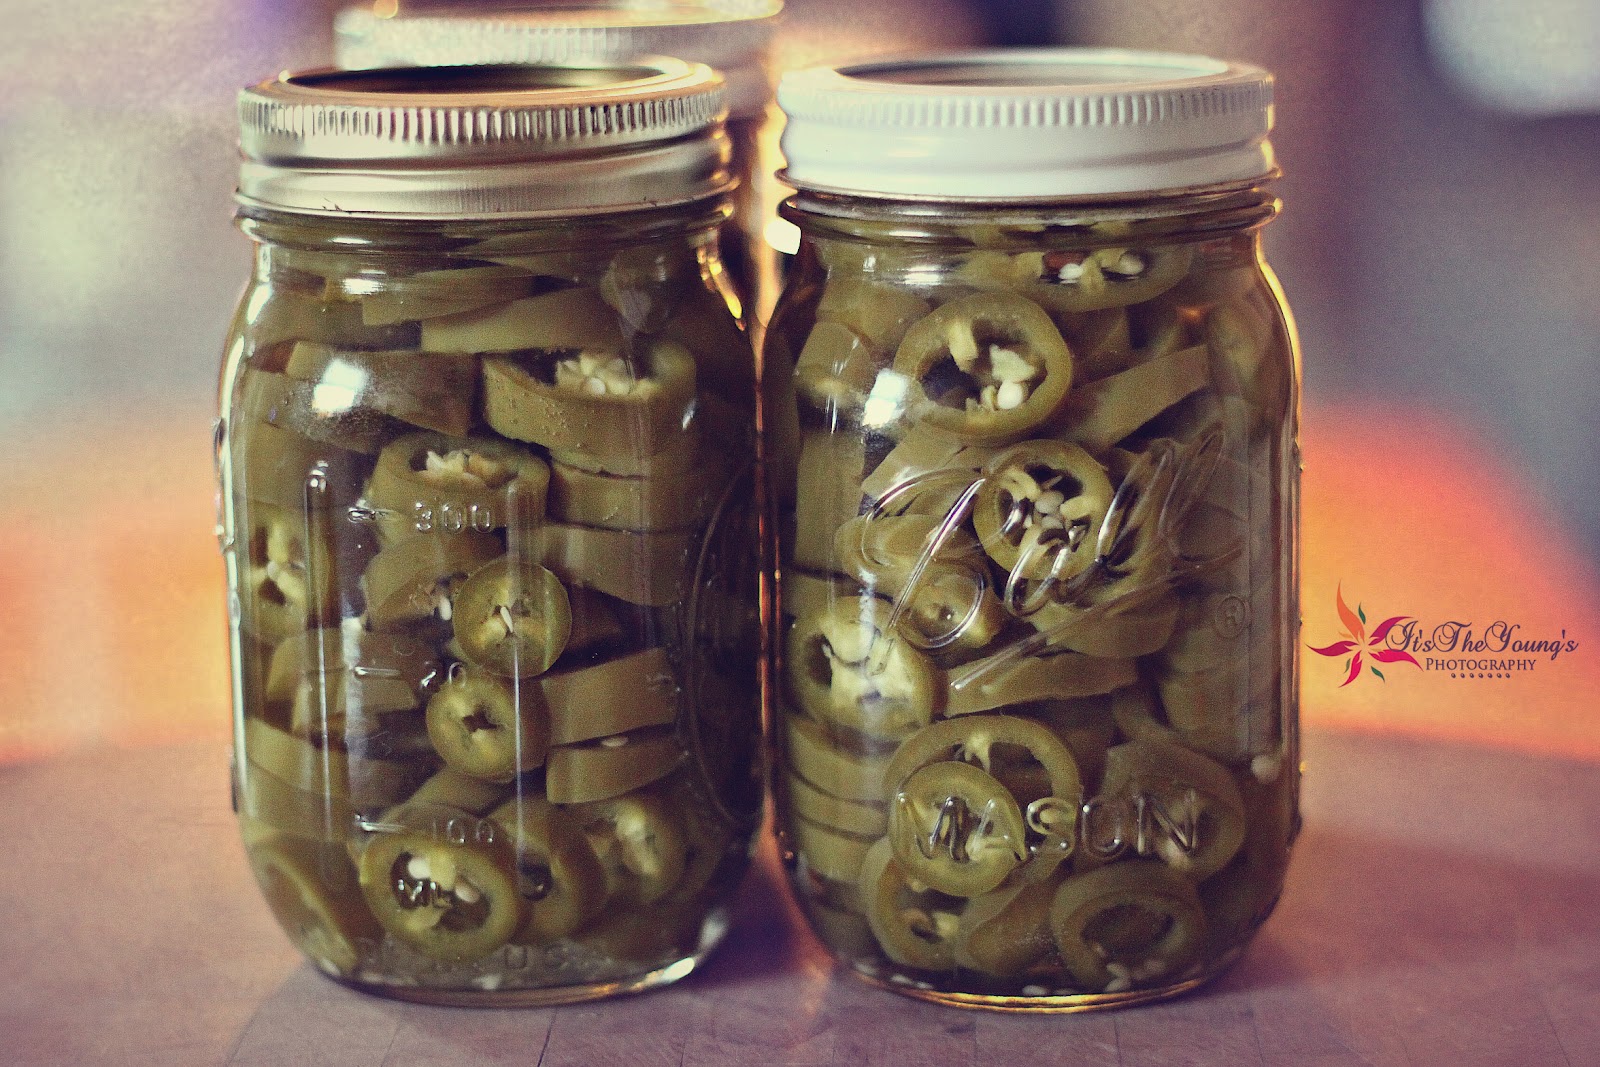
So the weather here in Indy has been hot and dry, and my Jalapeño Pepper plants LOVE it. I use a lot of them fresh from the garden during summer months, but the majority of them I can. At the price of almost $4 a jar or more at the grocery, I can get 12 or more pint jars out of 8 plants that cost me less than $3!
{As I slice the peppers I soak them in a bowl of water with a tablespoon of Alum to keep them a little crisp. Just drain and rinse before packing. This is optional.}
This is a simple canning recipe that will give you the delicious tasting jalapeños you'll love on Taco Tuesdays or mix into soups or other recipes throughout the year. Enjoy!
[Ingredients]
2lbs Jalapeño Peppers sliced or halved
2 cups White Vinegar
2 cups water
1/2 t canning salt per pint jar
[Prepping]
Select the best quality peppers for canning.
{Sterilize jars:}
Wash 1-pint Mason-type jars in hot soapy water and rinse in scalding water.
Put jars, lids and rings in a kettle and cover with hot water.
Bring water to a boil, covered, and boil jars 5 minutes.
Turn off heat and let jars stand in hot water.
{Prepare Jalapeño Peppers:}
Combine the white vinegar and water in a medium saucepan.
Bring it to a boil, lower heat and simmer while preparing the jalapeño peppers.
Wash peppers, drain and slice into ¼ inch rounds, discarding stems. If you like them HOT, leave the seeds, if you want a milder pepper, then simply remove the seeds.
*NOTE* Wear rubber gloves! If you don’t wear them while you are cutting all those jalapeño peppers, your hands will absorb the juice from the peppers and burn like crazy. Believe me! I've done it and my hands burned all night!
Pack the peppers in the HOT glass jars to within ½ inch of the top and cover with the boiling vinegar-water, leaving ½-inch headspace.
Add salt to jars.
After filling the glass jars, work the blade of a knife down the sides of the jar to remove air bubbles, and add more liquid if needed to cover the peppers.
Wipe the ring and the jar rim clean and screw on the cap.
Adjust the lids and process in boiling water for 10 minutes.
Allow the jalapeño peppers to cure for a few weeks.
That's it! Beautiful packed peppers to enjoy for a year! Be sure to share a few with family and friends. :)
Labels:
canning,
Jalapeno Peppers
Monday, January 16, 2012
Homemade Play-Doh
My boy was out of school today and I tried really hard for him to do some pics for me, but the answer was "NO".
So we made some homemade Play-Doh instead.
I made a cute little Snail for my barn.
Recipe:
3 cups flour
1.5 cups salt
6 tsp. cream of tarter
3 tbsp. oil
3 cups water
Pour all ingredients into a large pot. Stir constantly over medium heat until a dough ball forms by pulling away from the sides. Knead dough until the texture matches play dough (1-2 minutes). Store in plastic container. Should last for at least 3 months. You can add a package of unsweetened Kool-aid to add color and scent or just use food coloring.
Now have some fun!
(sorry about the terrible phone pics)
Monday, December 19, 2011
iHeartFaces Photo Challenge - Holiday Bokeh
Yummy Canes
I love creating photos during the holidays...it's so easy to get lots of Bokeh effects this time of year.
Now get yourself on over to iHeartFaces and enter your bokeh photos today!
Monday, December 5, 2011
iHeartFaces Photo Challenge - "On Your Feet"
There is an abandoned house that I use a lot for photos and my son wanted to do a creepy kinda photo and here it is.
Now get yourself on over to iHeartFaces and enter your photo for this weeks Challenge "On Your Feet."
Monday, November 14, 2011
Photo Challenge - Autumn Splendor
Believe it or not this young lady's name is Autumn! And her eyes are the most beautiful Blue. We had a great time taking her fall photos.
Monday, October 17, 2011
iHeartFaces Photo Challenge | Tickled Pink
This week’s theme is “Pink” in honor of Breast Cancer Awareness Month. Every year I try to do a few Breast Cancer Awareness photos and I thought this one of Celine was so beautiful.
Now get on over to iHeartFaces and join the fun and enter a pink photo in honor of breast cancer awarness month.
Friday, October 14, 2011
ihf Fix-it Friday #117
Every week iHeartFaces Community has a "Photo Editing" post where one of the community members posts a photo and ask members to use their editing skills to transform the photo.
This is the original submitted photo
This is my edited version using PSCS5
I had fun with this one.
Sunday, September 18, 2011
iHeartFaces Photo Challenge | A Touch of Light
I had the pleasure of photographing this beautiful couple last week and the sun was so perfect that day. They have been together for 23 years...and I think this photo shows it.
Now head on over to iHeartFaces and enter your “A Touch of Light” photo into the challenge this week.
Tuesday, August 16, 2011
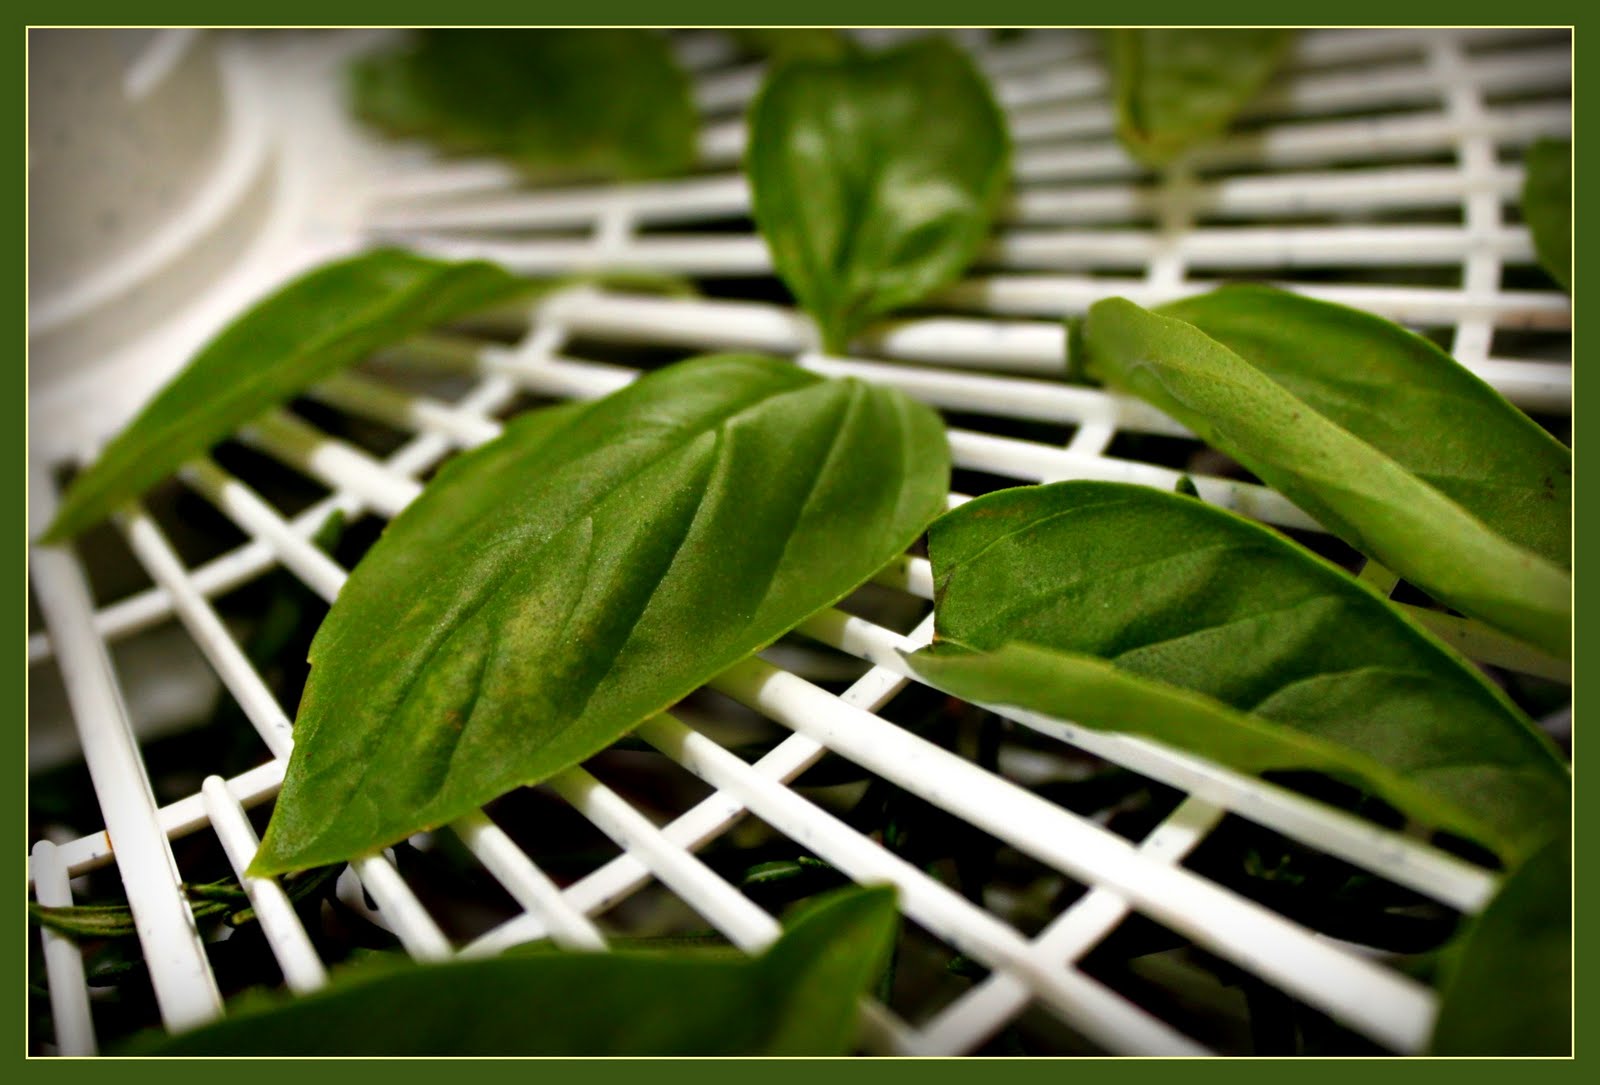
It's Dehydrating Time Again!
Basil
Chives
Rosemary
Thai Peppers - Oh They are HOT! And Sage
Despite the rainy spring and dry summer of 2011 here in Indy, my garden did very well. It's harvest time which means lots of canning and dehydrating of fruits, veggies and herbs. I enjoy having enough for myself along with a little for friends and family to enjoy throughout the cold winter months ahead.
Monday, July 25, 2011
iHeartFaces - Photo Challenge "Water"
My beautiful friend April at our neighborhood swimming hole. We had the best time trying to get this shot.
Now get yourself on over to iHeartFaces and enter your best water photo.
Tuesday, June 28, 2011
iHeartFaces Photo Challenge | A Touch of Whimsy
Had a weekend Photoshoot with this young lady...Miss Autumn. And thought this photo would be perfect for this weeks challenge.
Monday, June 20, 2011
iHeartFaces Photo Challenge | Let’s Hear It For The Boys!
This week at iHeartFaces the photo challenge is "Boys". Ironically I had a photoshoot yesterday of a handsome young man by the name Dawson.
Tuesday, May 31, 2011
The Young's Y'all Mango Margarita Recipe
These drinks are Festive, Fun and Fruity Y'all!
We made these yummy concoctions for Memorial Day Weekend and everyone loved them. My recipe goes a little off the basic with a great twist here and there. You will want to make these all summer long.
Fill blender 3/4 full of crushed Ice
add
1 jigger Tequila
1 jigger Caribbean Rum
1 jigger Vanilla Vodka
1 jigger Mango Vodka
1 jigger Triple Sec
1 jigger Mango Nectar
1 jigger Mango Margarita Mix
Blend all ingredients until smooth. Slice key lime in half, rub around rim of glass and dip rim of glass in sugar. Squeeze rest of key lime into glass and fill with mixture. Garnish with key lime slice and strawberry.
ENJOY!
iHeartFaces - Best Face Photo from May | People’s Choice Contest
This is my Beautiful Niece Brittany. She is such a good sport whenever I need a model. I've been teaching myself Adobe CS5 and saw a photo similar to this one and thought I would try the edit as a teaching lesson for myself. I think it turned out great and since it was taken around May 23rd I chose it for this weeks challenge.
Subscribe to:
Posts (Atom)